Creating and Scheduling Push Notifications
Learn how to create and schedule push notifications to send to your users.
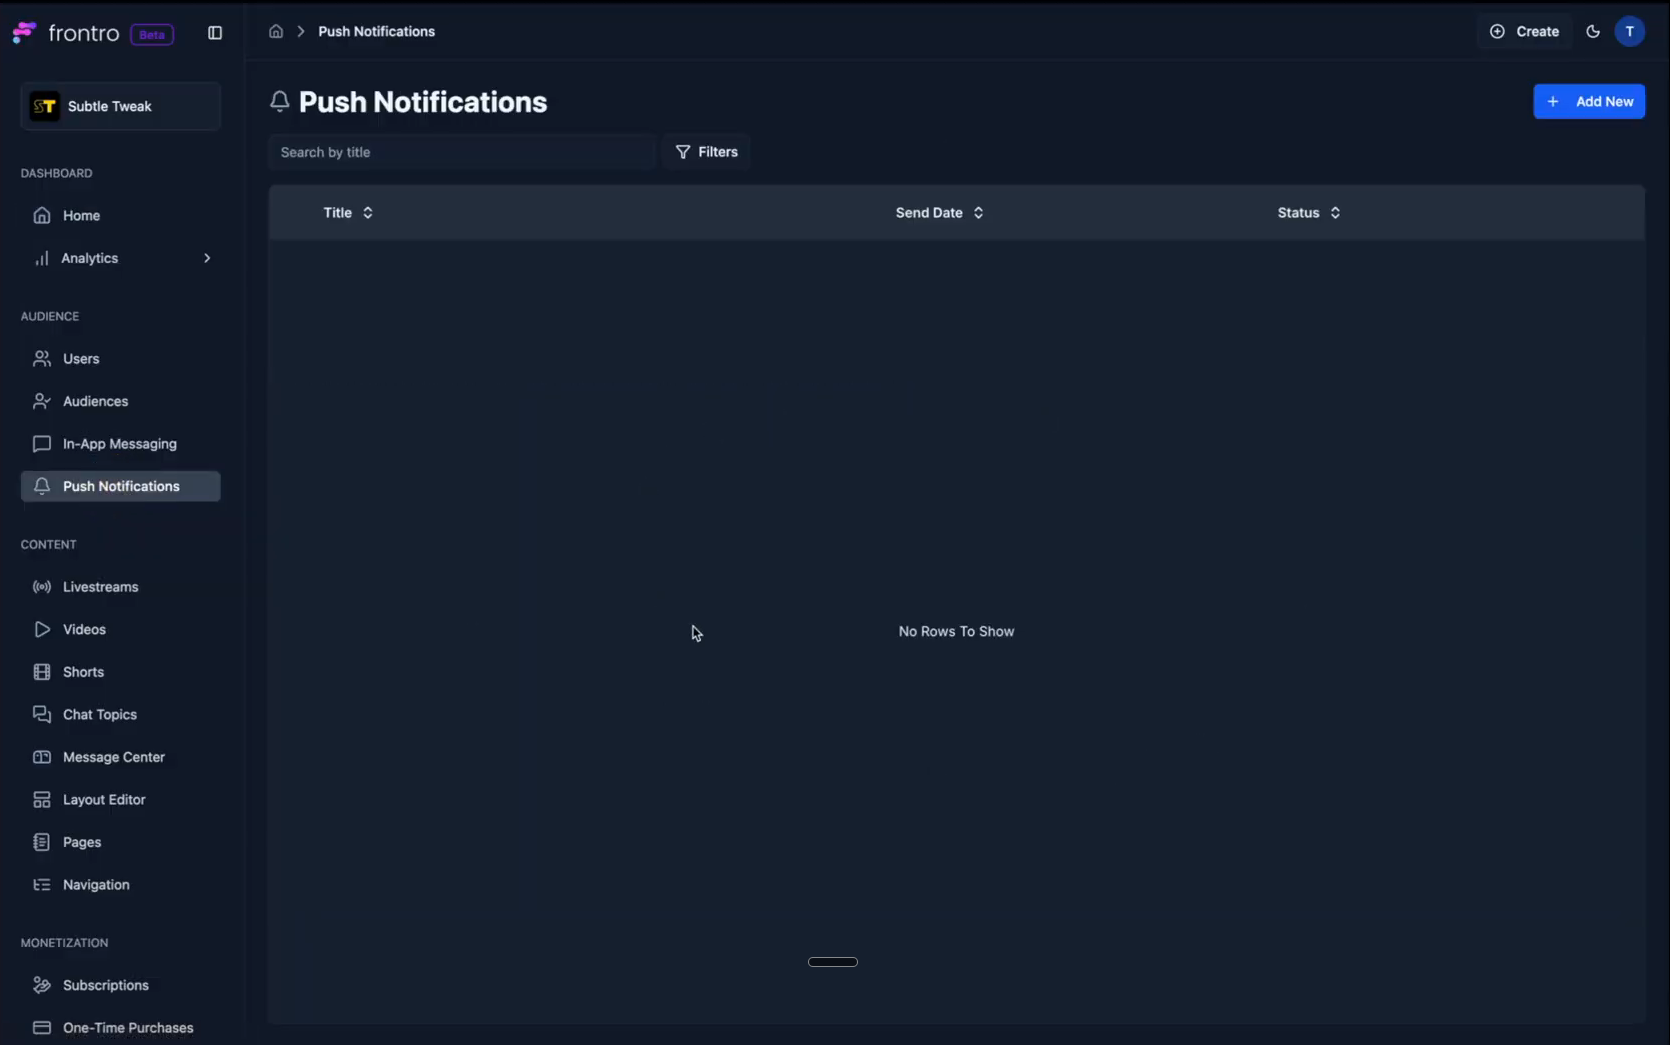
Getting Started
- In the left navigation, open Engagement, then Push Notifications.
- In the top right corner, click Add New.
Configure Your Notification
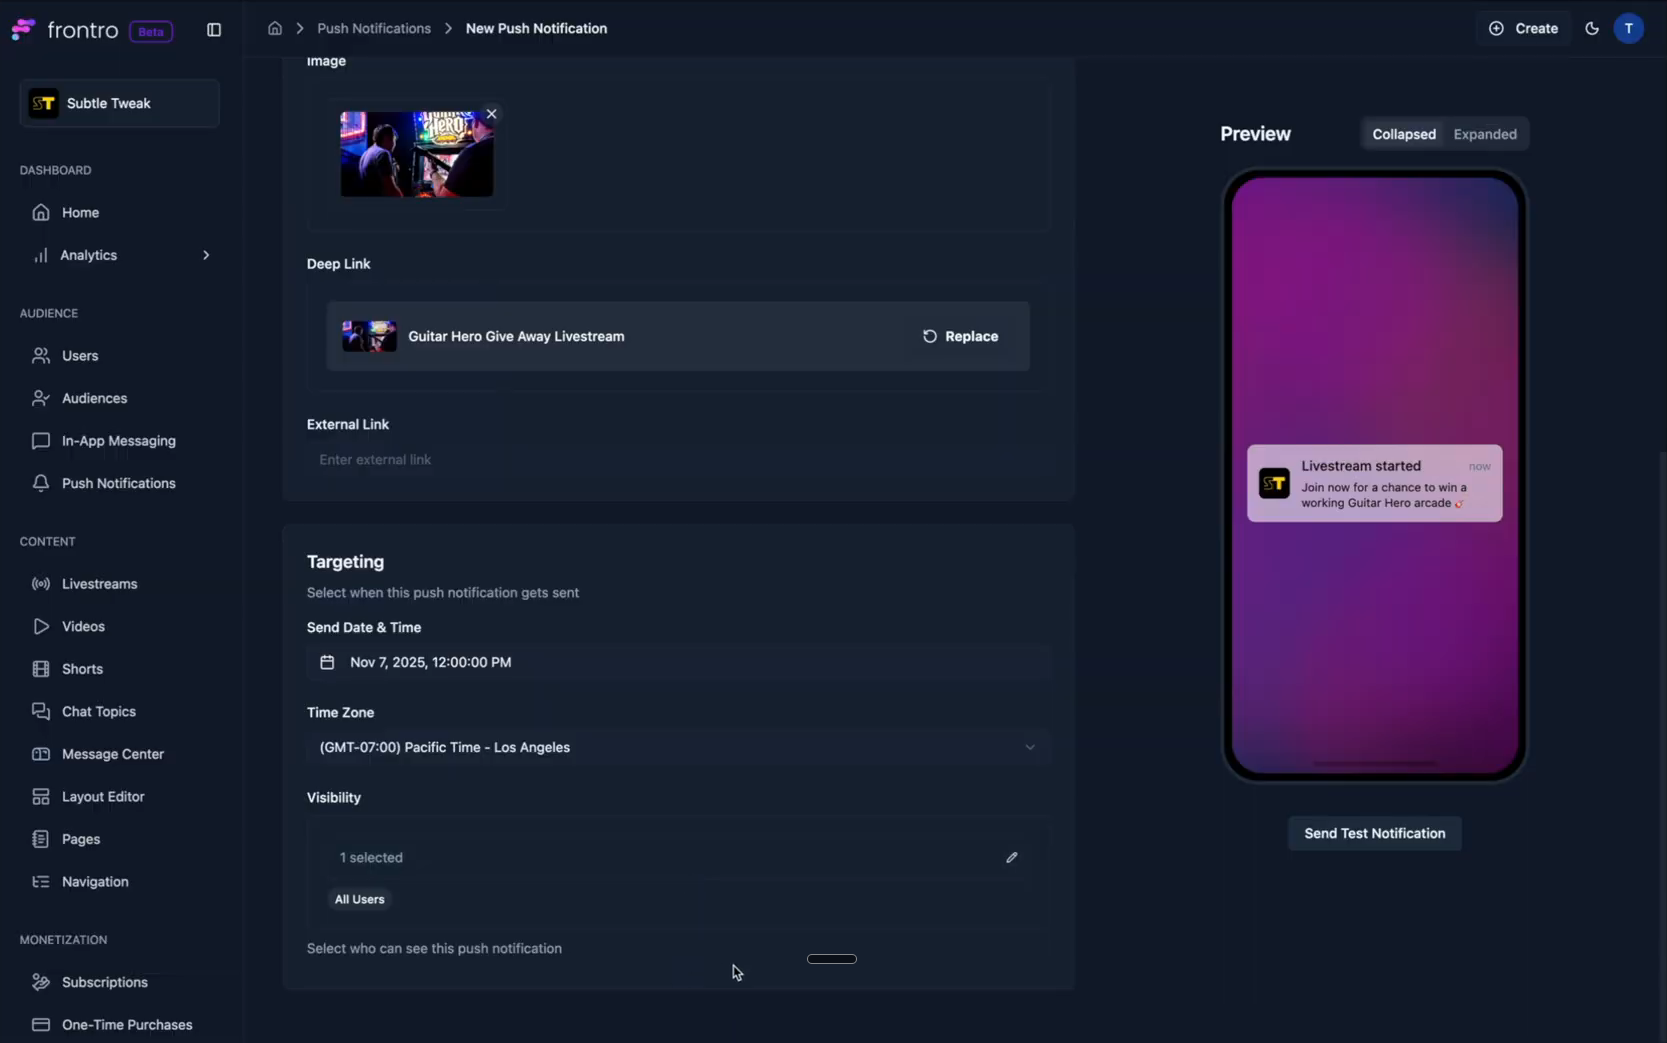
As you create your notification, a preview on the right shows what your users will see.
-
Campaign Name: Set a campaign name. This value is not visible to your viewers and is only for your own organizational purposes. For instance, if you are promoting a live stream, you may use a similar campaign name for a push notification, an in-app message, and an email related to the same promotion.
-
Notification Content: Define the content that will appear in the notification.
- Title: Give your notification a title, such as "Livestream Started".
- Description/Body Copy: Fill out the description, which has a maximum of 120 characters.
- Image (Optional): You can add an image to go along with the notification.
Toggling the preview from collapsed to expanded will show what the notification looks like with an image.
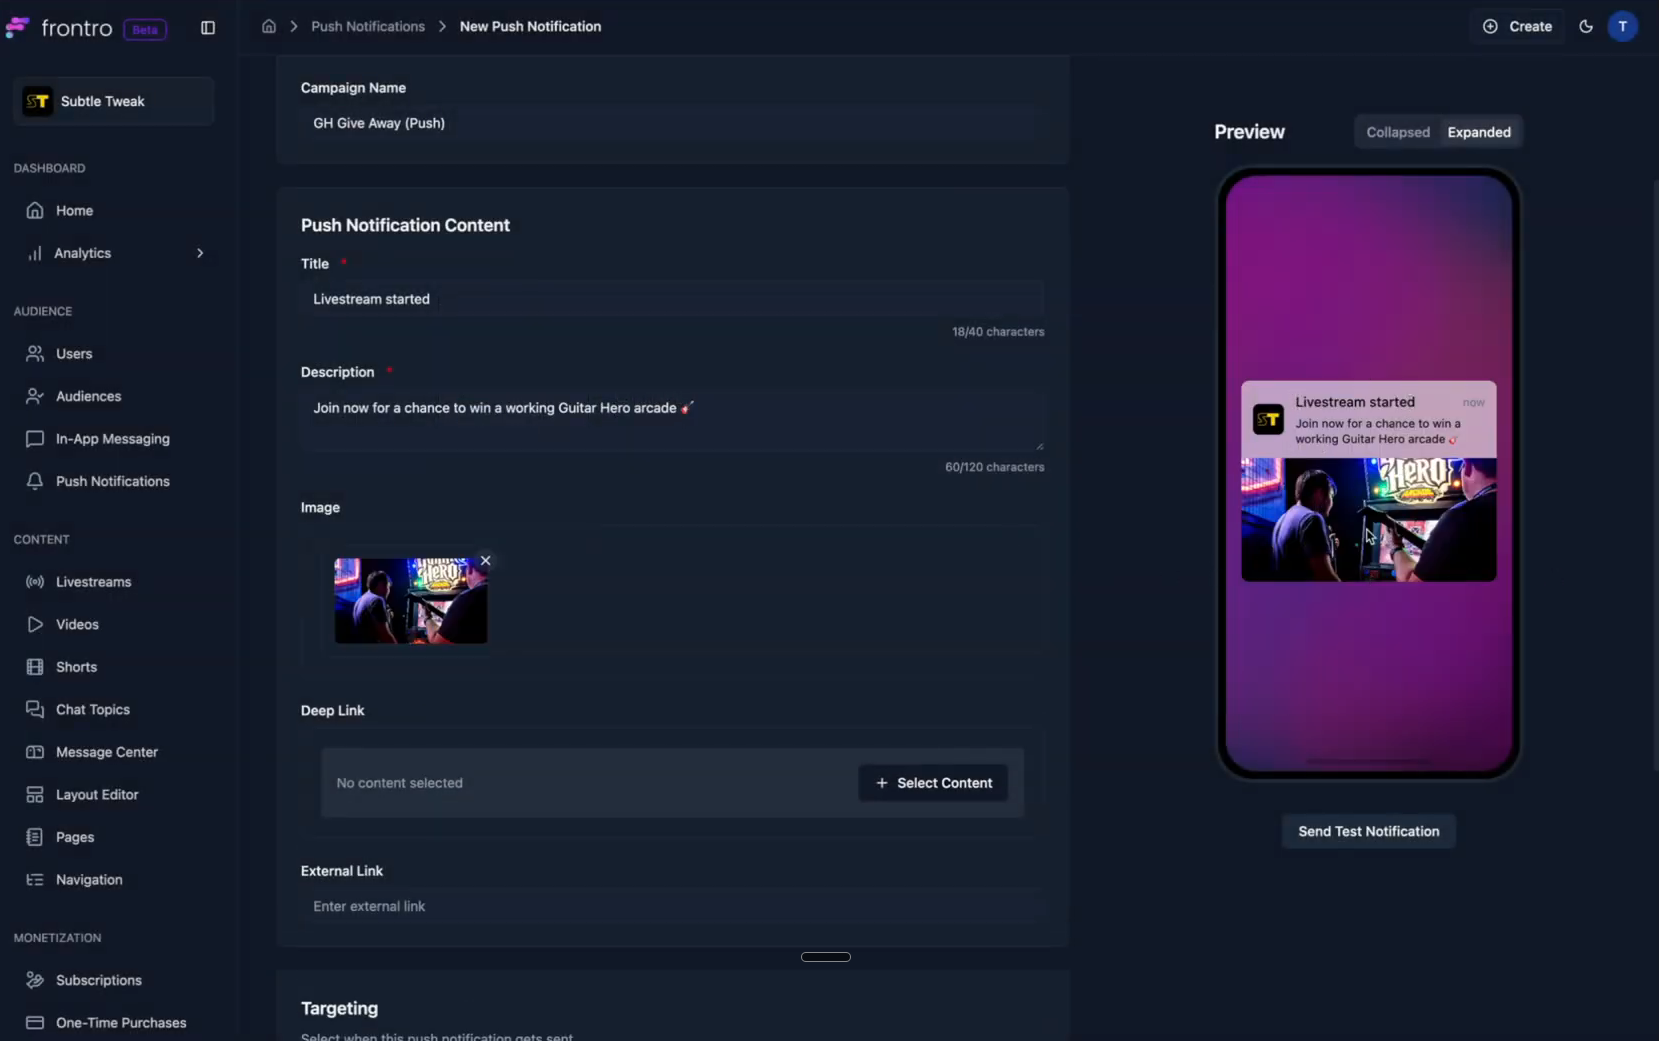
- Link: Add a link that the user will be routed to when they tap the notification.
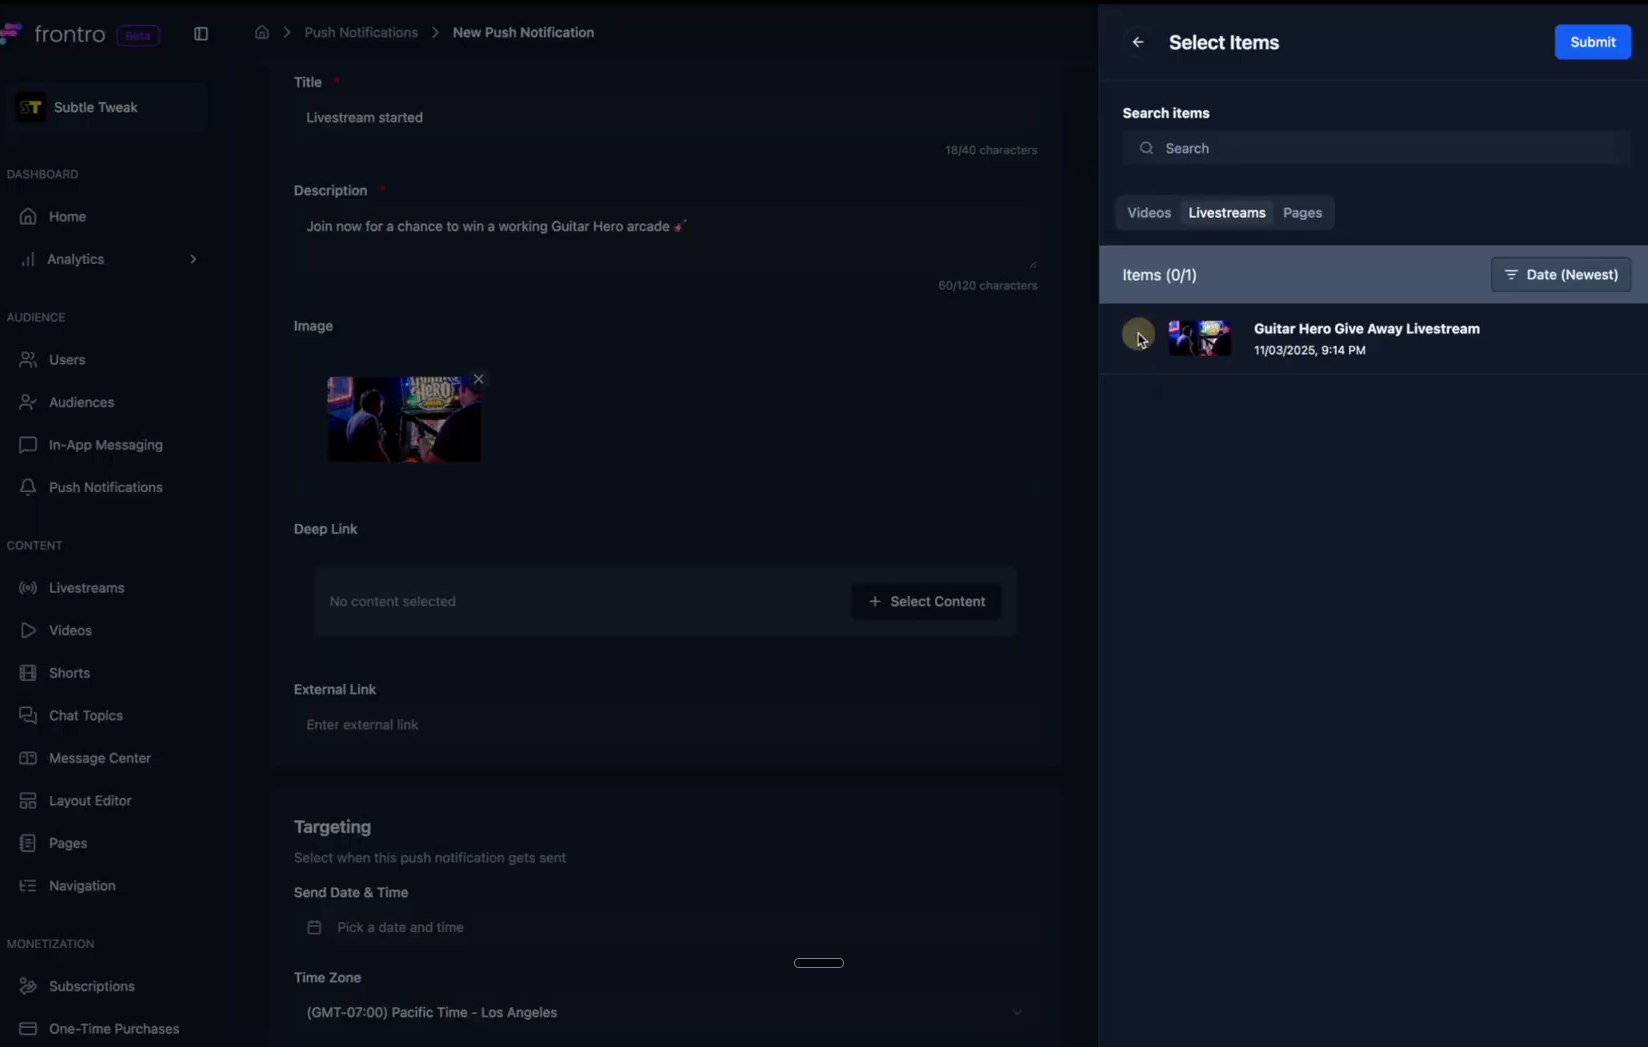
- Deep Link: You can select existing content on your channel, such as a scheduled livestream, and route the user directly to its content screen.
- External Link: You also have the option to add an external link to any website you want.
Targeting and Visibility
- Targeting: Set the specific date and time you want the push notification to be sent. You can also set any time zone you want.
- Visibility: Decide which of your users should receive this notification. You have full control over the audience and can set it to All users or, for example, just your Paid subscribers.
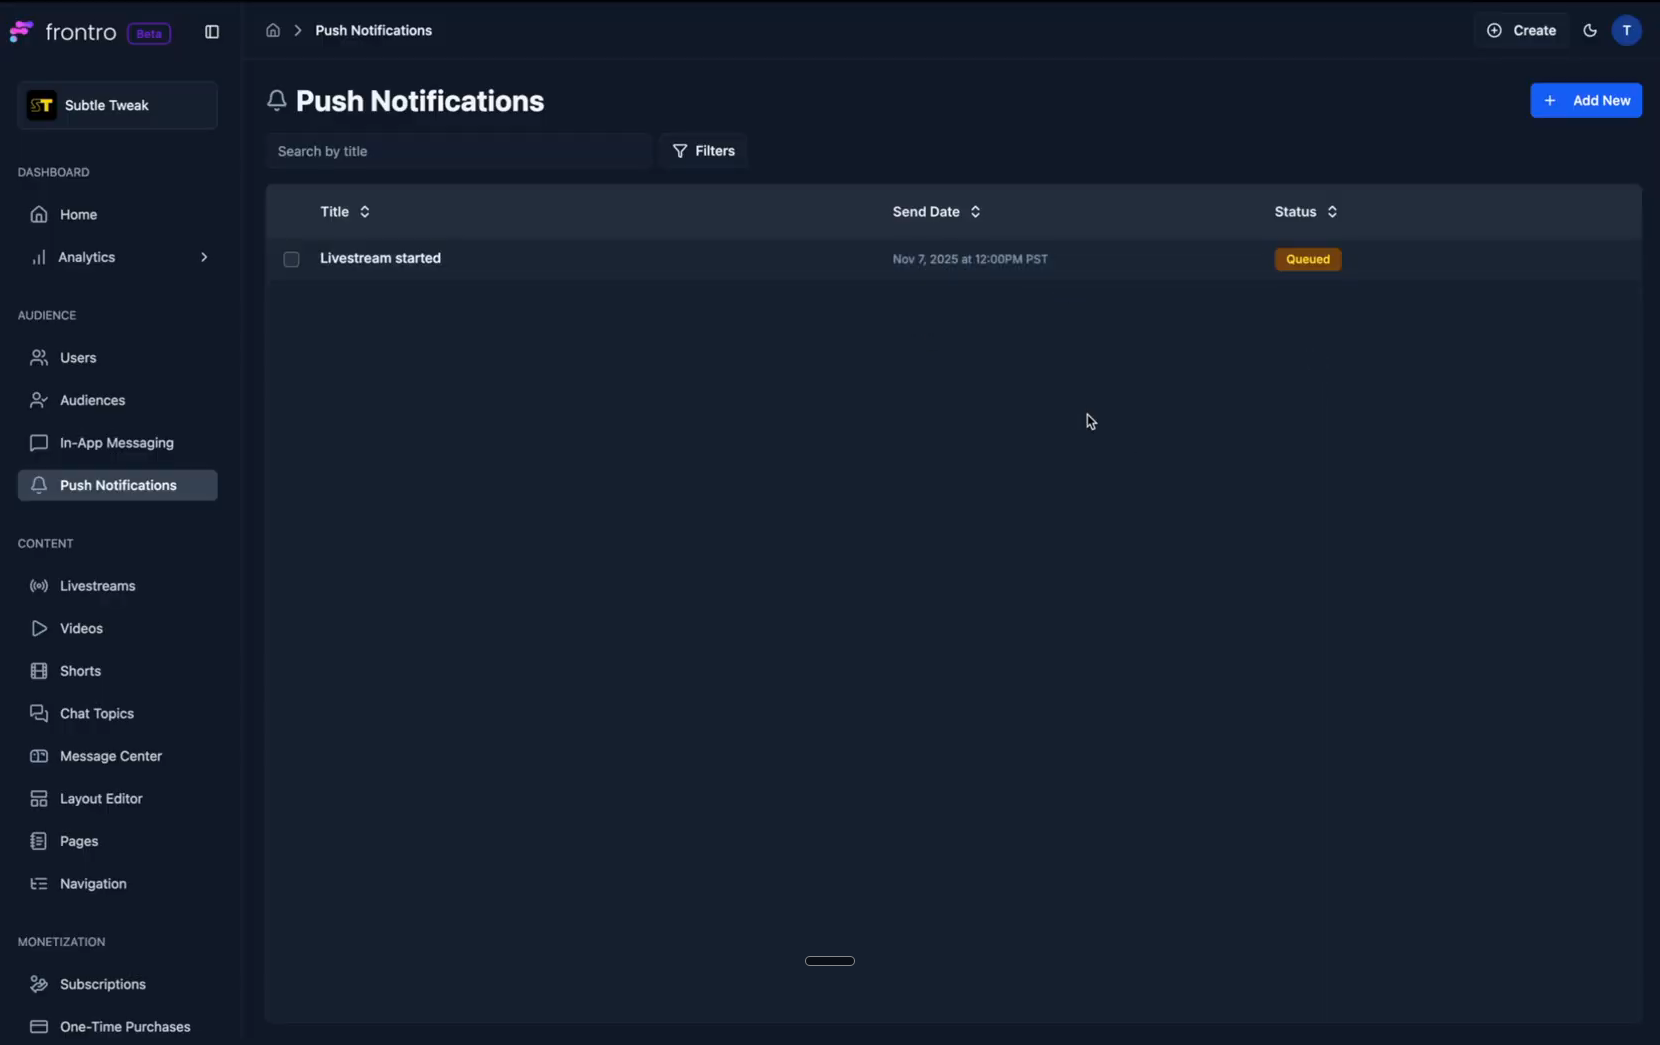
Finish the Notification
- Scroll back to the top and click Submit.
- The push notification will be added to the table with a status of Queued until the scheduled date arrives.