Courses
Courses let you offer structured, monetizable learning experiences on your site or app. You organize content into sections and lessons, add videos and downloadable resources, and control who can access each course via subscriptions or one-time purchases. Viewers see a branded course page, track their progress, and can resume where they left off.
Where to find it
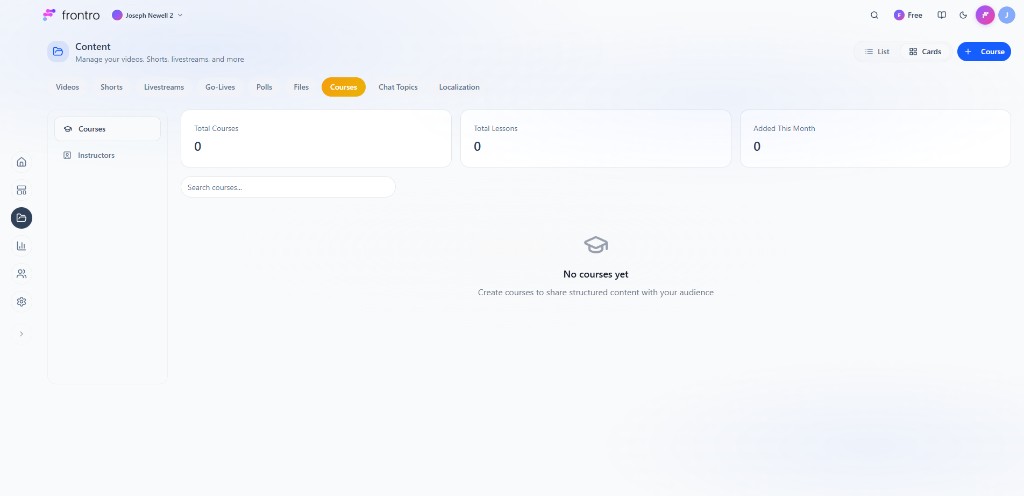
In the left navigation, open Content, then the Courses tab. A sidebar offers Courses and Instructors. Stats: Total Courses, Total Lessons, Added This Month. Use Search courses..., List / Cards view, and + Course to create. The empty state says: “No courses yet. Create courses to share structured content with your audience.”
Feature overview and benefits
- Structured content — Organize lessons into sections for a clear learning path.
- Rich lessons — Add video and downloadable files to each lesson.
- Instructors — Create instructor profiles and assign them to lessons.
- Access control — Gate courses by subscription tier and/or one-time purchase (OTP).
- Course landing page — Each course gets a dedicated page with a trailer, overview, and enroll CTA.
- Progress tracking — Viewers see completion and can resume across devices.
- Analytics — See completion rates, lesson engagement, and user progress.
Course structure
Courses are built from:
- Sections — Groups of lessons (e.g. “Week 1: Basics”, “Week 2: Advanced”).
- Lessons — Individual units. Each lesson can have a video (from your channel), downloadable resources (files), and instructors (assigned per lesson).
Access is set at the course level: free, required subscription tier, one-time purchase(s), or either subscription or OTP.
For creators
Getting started
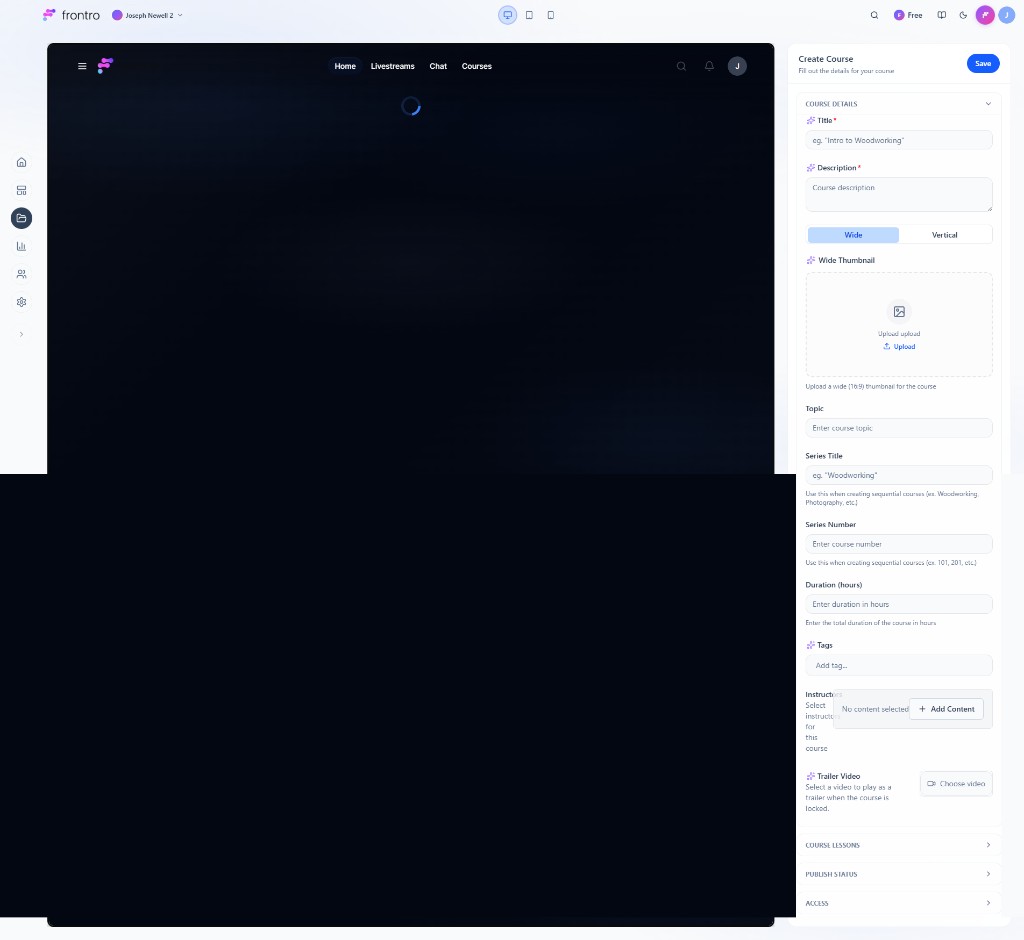
- In Content → Courses, click + Course to open the Create Course form.
- Fill in Course details: Title, Description, Wide or Vertical thumbnail, Topic, Series title and Series number (for sequential courses), Duration (hours), Tags, Instructor (+ Add Content), and Trailer video (plays when the course is locked). Expand Course lessons, Publish status, and Access as needed, then Save.
- Manage Instructors via the Instructors item in the Courses sidebar, then assign them to lessons in the course.
Course details
When creating or editing a course you can set:
- Thumbnail — Course image for the landing page and lists.
- Title — Display name of the course.
- Sequential series title — Optional (e.g. “Part 1”, “Season 1”).
- Course number — Optional identifier (e.g. “101”, “BEGINNER”).
- Description — Overview shown on the course page.
- Duration — Optional total duration.
- Topic — Optional topic or category.
- Trailer video — Short preview for the course landing page.
- Tags — Optional tags for organization.
Lesson plan (sections and lessons)
- Sections — Add multiple sections and reorder them by dragging (e.g. “Module 1: Basics”, “Module 2: Advanced”). Each section must have at least one lesson.
- Lessons — For each lesson you can:
- Choose a video from your channel as the main content.
- Add downloadable resources (e.g. PDFs, worksheets).
- Assign one or more instructors (create instructors under Courses → Instructors first).
Access and pricing (Publish / Access section)
- Audience / visibility — Who can see the course (e.g. public, unlisted, or limited by audience).
- Subscription — Optional. If set, only members of the selected subscription tier get access.
- One-time purchases (OTP) — Optional. Attach one or more OTPs; viewers get access by buying one (or by having the required subscription).
Options:
- Free — No subscription and no OTPs; everyone with access to the course page can view it.
- Subscription only — Require a specific membership tier.
- One-time purchase only — Require purchase of one of the linked OTPs (create OTPs under Monetization → One-Time Purchases, then select them in the course’s Publish section).
- Either — Viewers get access with the required subscription or by buying one of the OTPs.
Landing page and analytics
Landing page: Each published course has a page with title, thumbnail, description, trailer, section/lesson list, and CTA (Enroll / Get access / Subscribe / Purchase).
Analytics: Open a course → Analytics to see average completion rate, total course/lesson completions, per-lesson stats, and per-user progress. Completion certificates are not available in the current version.
Comments: Comments can be enabled or disabled per lesson when editing the course. For moderation and community features, see Community Chat.
FAQ
Common questions when creating and managing courses:
- Can I reorder sections and lessons after publishing? — Yes. Edit the course and drag sections/lessons into the order you want, then save.
- Can I use the same video in multiple lessons? — Yes. You can select any video from your channel for each lesson.
- How do I make a course free? — In the course’s Publish/Access section, leave Subscription unset and do not add any One-time purchases.
- How do I offer a course as a one-time purchase? — Create OTPs under Monetization → One-Time Purchases, then in the course form select those OTPs under “One-time purchases”.
- Where do I manage instructors? — Use Courses → Instructors to add and edit profiles; then assign them to lessons when editing a lesson in the course builder.
Troubleshooting
If you run into issues, try the following:
- My course doesn’t show in the list. — Check visibility and audience settings; ensure it’s published.
- Viewers say they can’t access the course. — Confirm (1) access settings (subscription or OTP required?), (2) they have the correct tier or completed purchase, (3) audience/visibility isn’t blocking them.
- Lesson video won’t attach or shows as missing. — Use another video from your channel that’s uploaded and processed.
- Analytics show no data. — Ensure the course is published and has enrollments; data appears after viewers start and watch lessons.
- Instructors don’t appear in the lesson selector. — Create and save instructors under Courses → Instructors first.
Related documentation
- One-Time Purchases — Set up OTPs you can attach to courses
- Content — Managing videos and content used in lessons